
It’s no secret that a clean, organized facility is a productive facility. But getting there can be a challenge. When you see results like improved safety, quality, and production you know the journey is worth it. Here’s what I learned while managing an extrusion and injection plant.
Choose a pain point area in your plant that is about 100 square feet. Begin by roping it off the area with some form of a barrier. Caution tape or cones work well for this. The marking is a guide to keep your efforts focused on only this area, thus preventing you from trying to boil the ocean. Getting a quick win and planting a preverbal flag in the ground should prevent this area from not go back to the previous state of disarray.
Choose a small team (about 2-4 people) that work in or around this area, or who may be affected by any changes that are made. You may also take this opportunity to include someone from the office that wants to better understand production. Consider using an event like this to help break down department silos.
Before you begin, start by doing a scored self-assessment of the area and take lots of before pictures. Having before and after pictures and assessments go a long way in showing everyone the changes. After you’ve completed the assessment and the pictures are taken, you’ll want to start sorting the area. Identify the tools you need on a daily basis and keep them close. The rest of the items need to go in storage, the trash, or to a red tag area. A red tag area is an area to put items that do not need to be in the work area. Use a red tag to label these items and mark them with the date found, location found, and item name. Area managers will want to review the red tag area and decide if they can use these treasures or if they are trash. Select a decision date (for example – 2 weeks from the event) for when the items need to be dispositioned. Set-in-order and shine are your next steps. Have a place for everything and put everything in its place. You may use shadow boards or foam to visually show where tools go. Deep clean the area to a shine. This could be mopping, wiping down equipment, painting, or other cleaning. Following shine is standardize where you begin to identify how you replicate this in other areas of the plant. Think about it in this way– if someone moves to another workstation, the area is set up similarly to allow a much easier cross-training. The last step is sustain, which happens to be the most challenging step. You will want to audit the area on a regular basis and track the audit scoring. If a score drops, find out why and work to get the area back up to the standard.
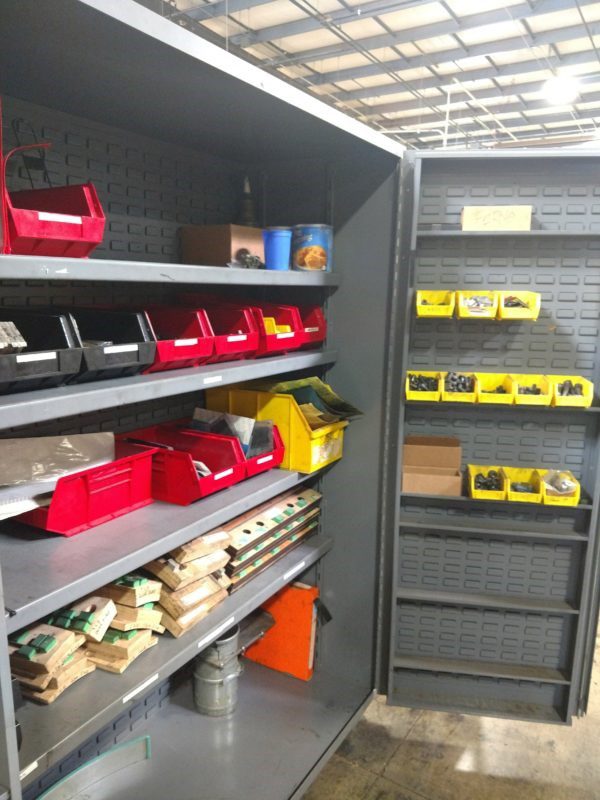
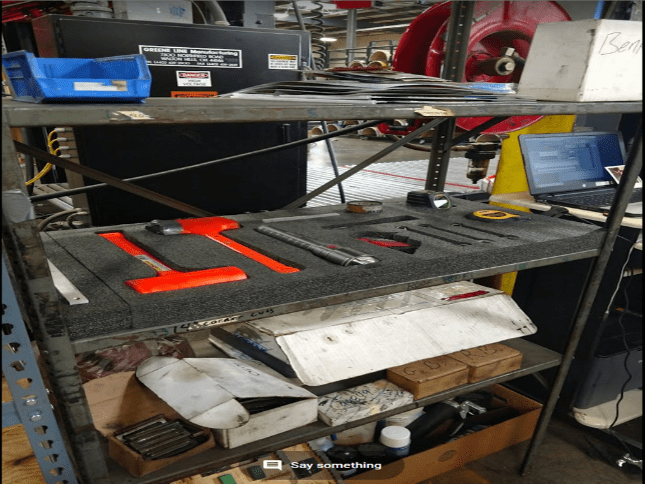
Visual management allows you to quickly see how the work area is maintained. The perfect workstation should only take an employee 30 seconds to see if everything is in its place and easily see what is missing. Some pictures below show kaizen foam and shadow boards which are two examples of visual management.
When the staff sees the transformation of an area, they all want to join in. Select another area to plant the flag. Remember: A 5S project can boost your culture and improve the morale in a quick amount of time.
Our team will come in and help guide you through the 5S process. Just ask!
Email: FastLane@udri.udayton.edu
Phone: (937) 229-1368
Mailing Address: 300 College Park #7537 Dayton, OH 45469-7537
Physical Address: 1700 S Patterson Blvd Dayton, OH 45409
